
When building your product portfolio in your Ecwid store, sometimes a single product image isn’t enough. When you want to implement a multi-image gallery for a particular product, here’s what you need to do:
- Store the (additional) images you wish to include in a folder on your computer.
- Navigate to the product in the Ecwid store.
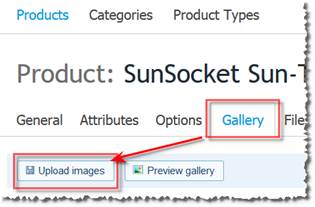
- Select the “Gallery” tab, then click “upload images”.
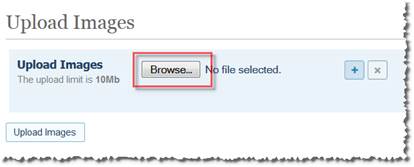
- Use the “Browse” button to navigate to the folder where your images are stored.
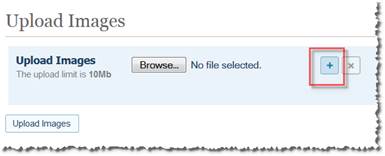
NOTE: You can select multiple images within the same dialog by clicking the “plus” sign – it’ll add another “Browse” button.
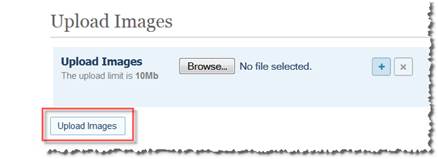
- Once you’ve selected all the images you wish to upload, click the “upload images” button. Your images will appear in the product’s image “gallery”.
NOTE: You can reorder the images by dragging & dropping if you wish.
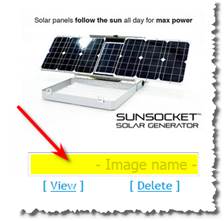
- Just beneath each image is a small box with “- Image name –“ in light gray letters. Use that box as an image caption.
- Once you’ve added a caption to each of your gallery images, click “Save” (or “Save & Close” if you’re done editing the product).

If the product was already in the store and you want to include the initial product image in the gallery along with the images you added:
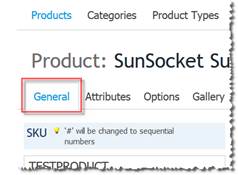
- Click the product’s “General” tab.
- Scroll down to the “Product Image”.
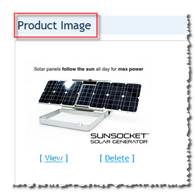
- Right-click the image and save it to where you have the other product images stored.
- Go back to the “Gallery” and upload the image like you did the others.
NOTE: Since this is the “main” product image, I’d recommend putting it in the first image position.
That’s it! Enjoy your expanded product image gallery!
“Tech’s not scary when knowledge tags along” SM